Nofollow & Noindex Tags: All You Need to Know
If you’ve worked in SEO long enough, you’ve come across robot meta tags, and specifically nofollow and noindex tags. These robot meta tags communicate with the search engines, telling them how to treat your pages.
Below we’ll be discussing what exactly nofollow and noindex tags are, why we use them, which pages we use them on, and how we add the on WordPress. Read on for more on these special tags.
What is a Noindex Tag?
A noindex tag is a tag that we add onto the HTML code of a webpage. It tells search engines like Google not to include this specific page in its search engine results pages (SERPs). However, it’s important to note that any links on this page will still be followed by search engines.
This is what a noindex tag looks like in HTML code:

What is a Nofollow Tag?
A nofollow tag is a tag that we add onto the HTML code of a webpage. It tells search engines not to pass link equity – or link juice – to any of the links on a page the tag is on.
This is what a nofollow tag looks like in HTML code:

Why We Use the Noindex Tags
This tag is used to block pages we don’t want search engines to show to the human user. Also, we use it on pages that may affect our ranking on Google. We’ll further explore what kind of pages those are below.
Why We Use the Nofollow Tags
Link equity, or link juice, is very important for our site’s and page’s authority. We use this tag to preserve the page’s authority, especially if the page links back to pages that aren’t authoritative. All in all, the nofollow tag prevents Google and other search engines from seeing the inclusion of the link as an upvote from you indicating that the site is important to you.
Which Pages We Use a Noindex Tag On
There are five types of pages you’ll want to add a noindex tag on:
- Author archives on a one-author blog: if there is only one author posting blogs on your site, the author pages will be the same. Therefore, Google will consider them as duplicate content and penalise you. Adding a noindex tag prevents this from happening.
- Certain post types: this applies more specifically to pages that sell products and need custom pages. These pages that specify the dimensions and weight of a product are considered low quality pages and Google will penalise you for those if they are indexed.
- Thank You pages: these are pages that automatically show up to thank first time subscribers or commenters for example. They have no content value and are thin content pages.
- Admin and Login pages: users don’t need to see these pages. Therefore, Google doesn’t need to index them.
- Internal search results: landing up on the internal search results page of your site from the Google search results ruins user experience. Add a noindex to this page. However, it’s important that the links on the internal search results page are accessible, so you want those to be followed.
Which Links We Use a Nofollow Tag On
There are three types of links that we’ll add a nofollow tag on:
- Untrusted content: add a nofollow tag to links in the comments section. You don’t know what people are posting in those since they are open to everyone visiting your site.
- Paid links: these are also links that people add to the comments section.
- Crawl prioritisation: this applies to things like login links on the webpage.
How to Add a Noindex Tag on WordPress
Since WordPress is our preferred content management system (CMS), we’ll be looking at how it’s done on the CMS. Luckily, Yoast SEO, the plugin in our CMS, makes setting a noindex tag quick and easy.
- Go to the Yoast SEO plugin at the bottom.
- Click on the gear icon to open the Advanced tab.
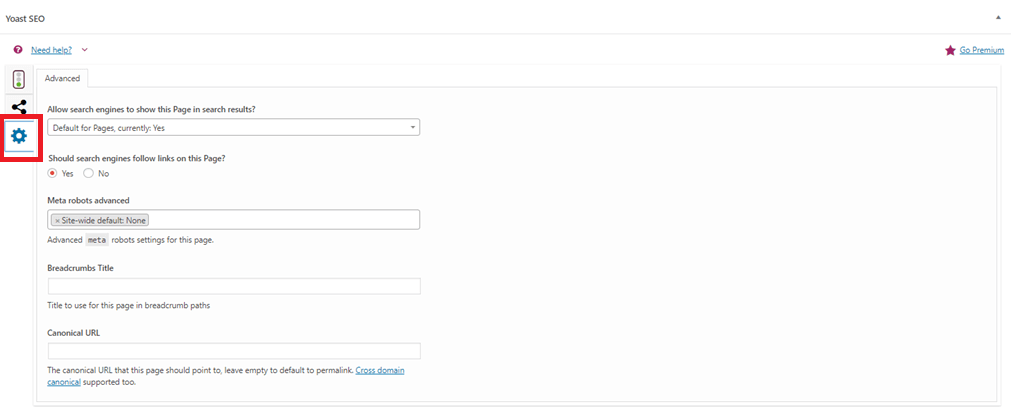
- Click on the drop down under ‘Allow search engines to show this Page in search results?’ Its default setting is Yes. Click on No to add a noindex tag.

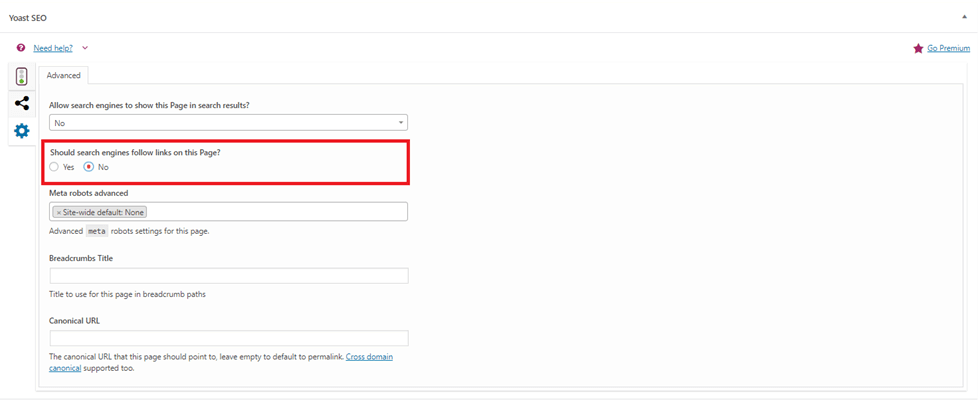
- Remember, just because you’ve noindexed a page, doesn’t mean that the links on it are also set to nofollow. To nofollow all the links on the page, under ‘Should search engines follow links on this Page?’ click No.
How to Add a Nofollow tag on WordPress
Luckily for us copywriters that aren’t too familiar with code, there is a WordPress plugin that helps you add a nofollow tag to specific link. This is unlike the option discussed above which applies to all links on the page.
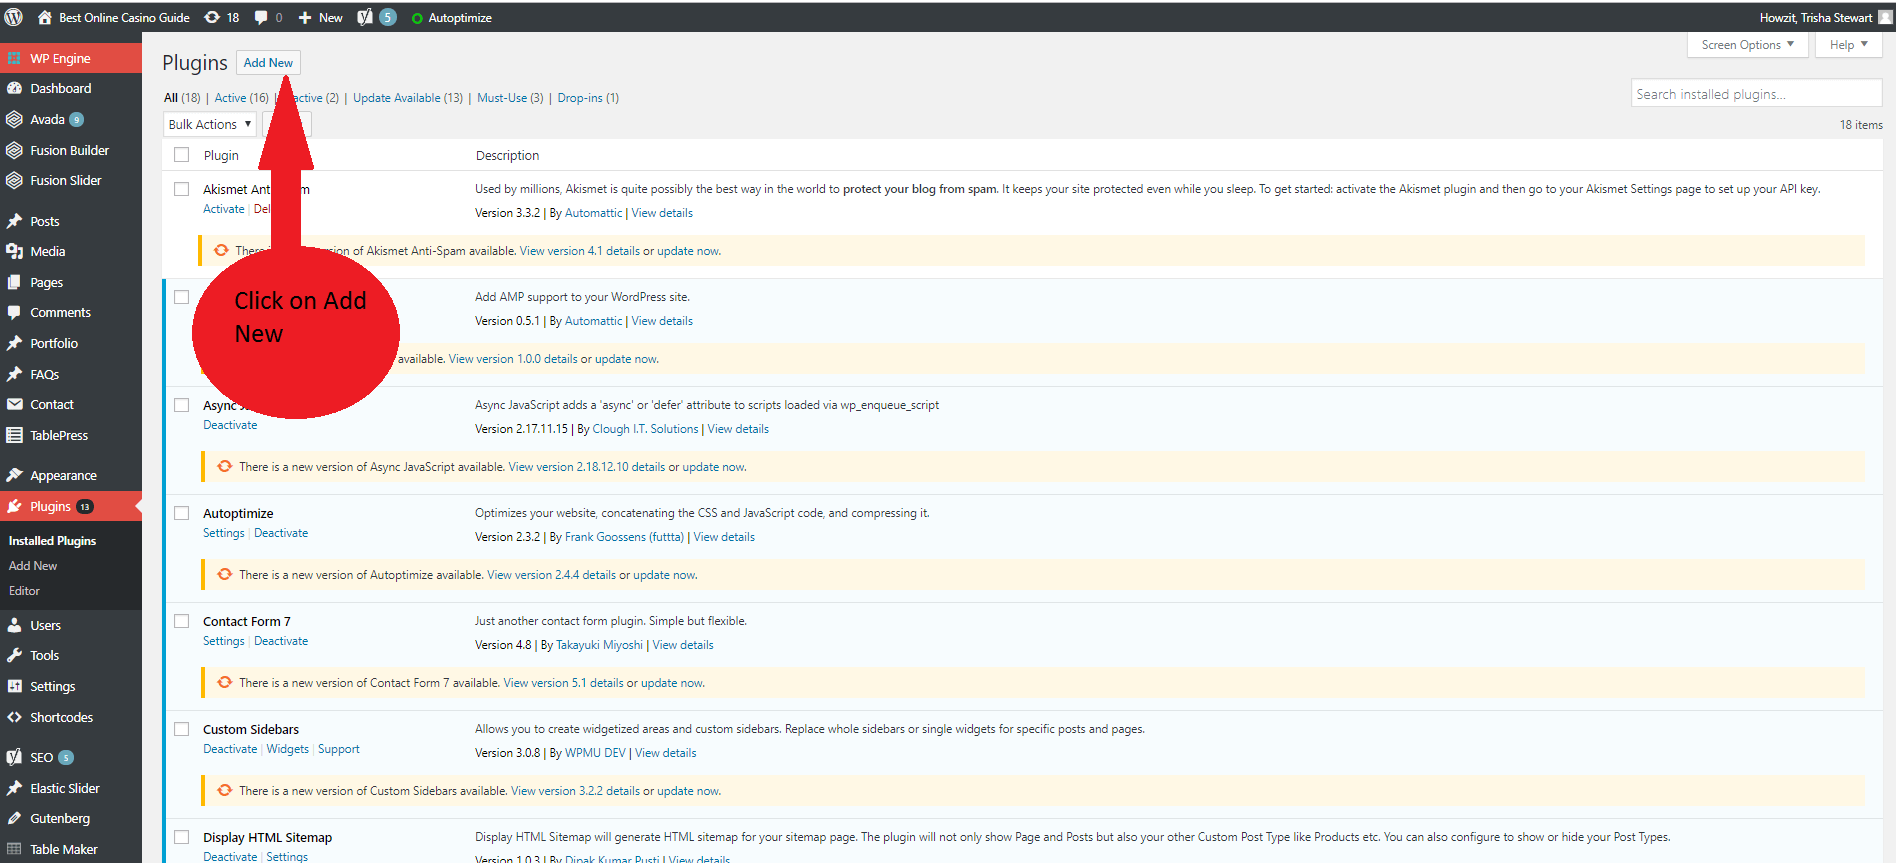
- In your WordPress Dashboard, click on Plugins.
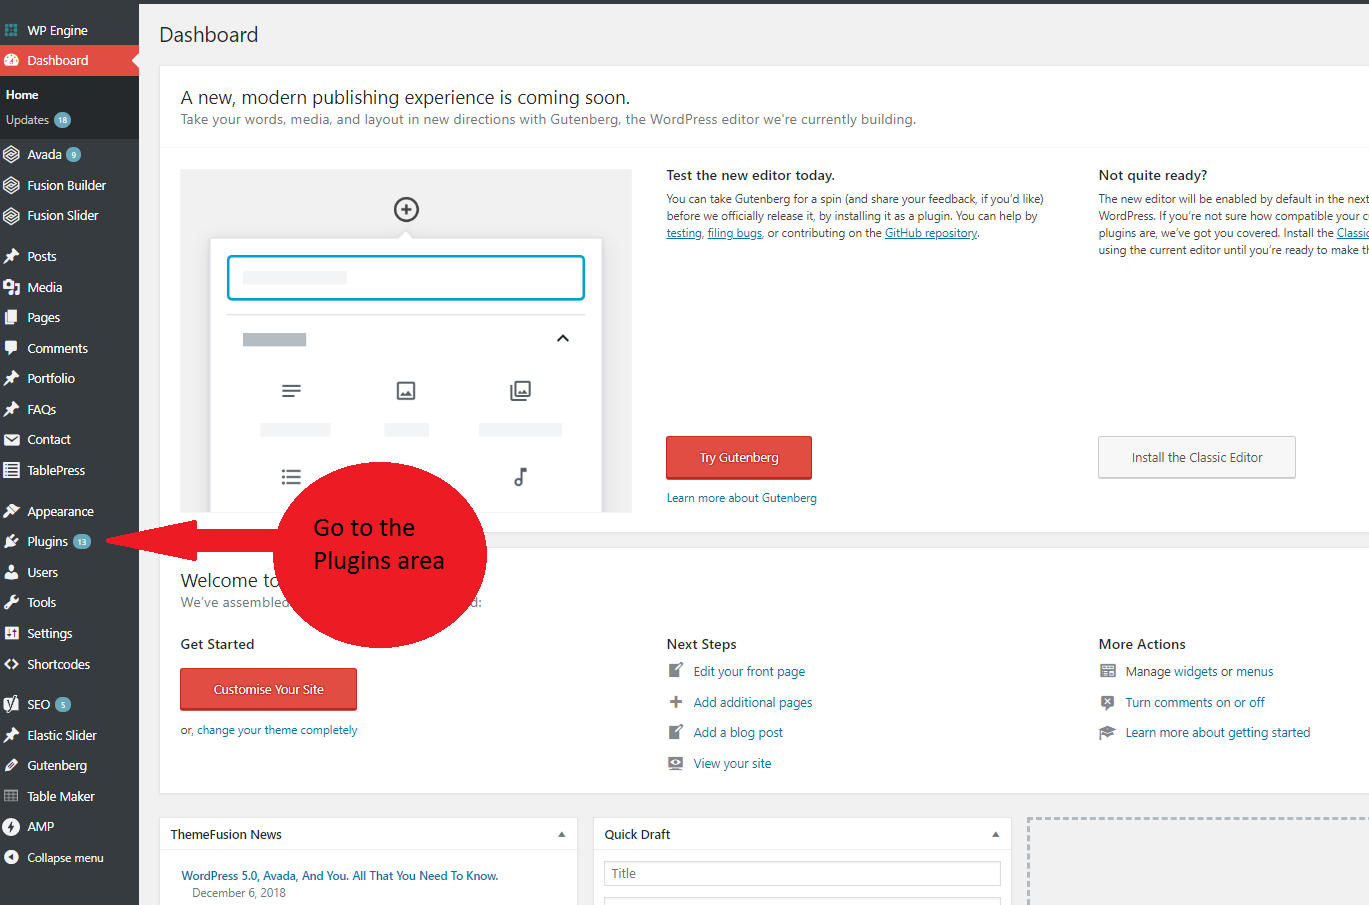
- Click on Add New at the top of the page.
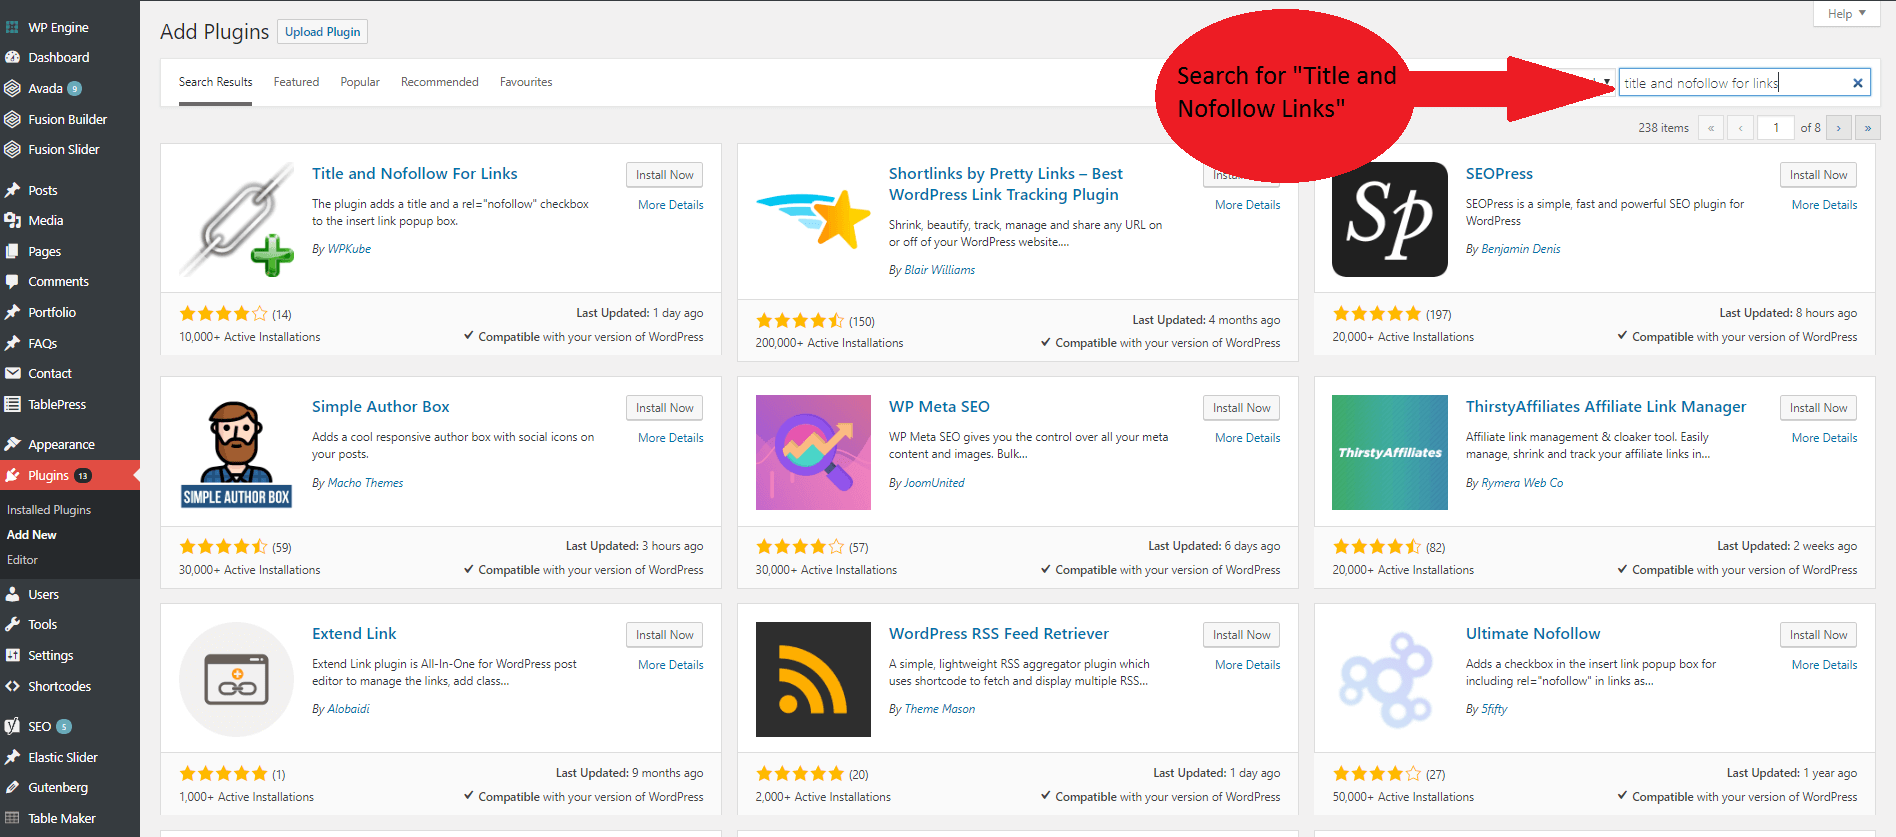
- In the search box on the right-hand side of the page search for the “Title and Nofollow Links” plugin.
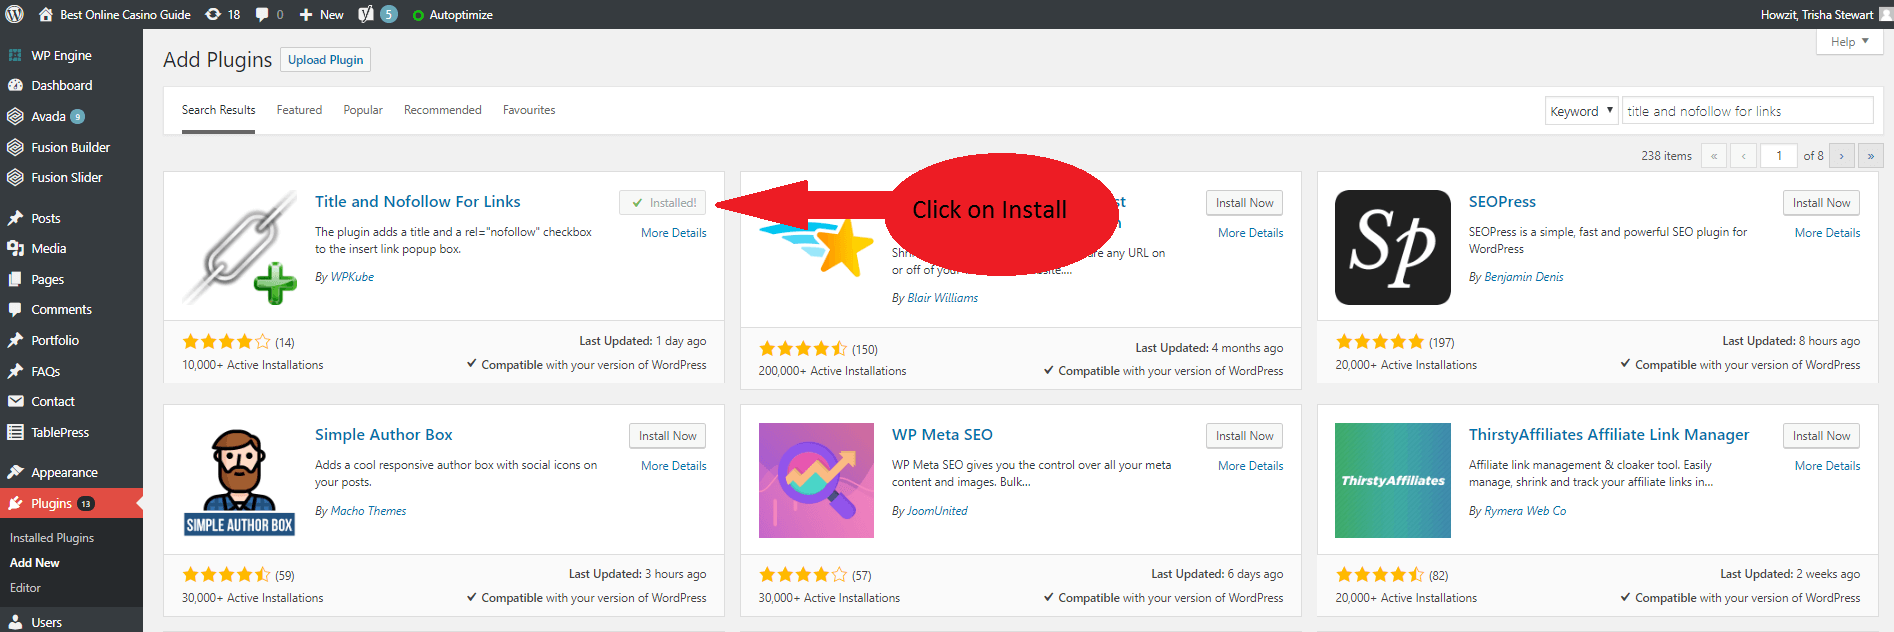
- You’ll find the link on the left-hand side. Click on Install.
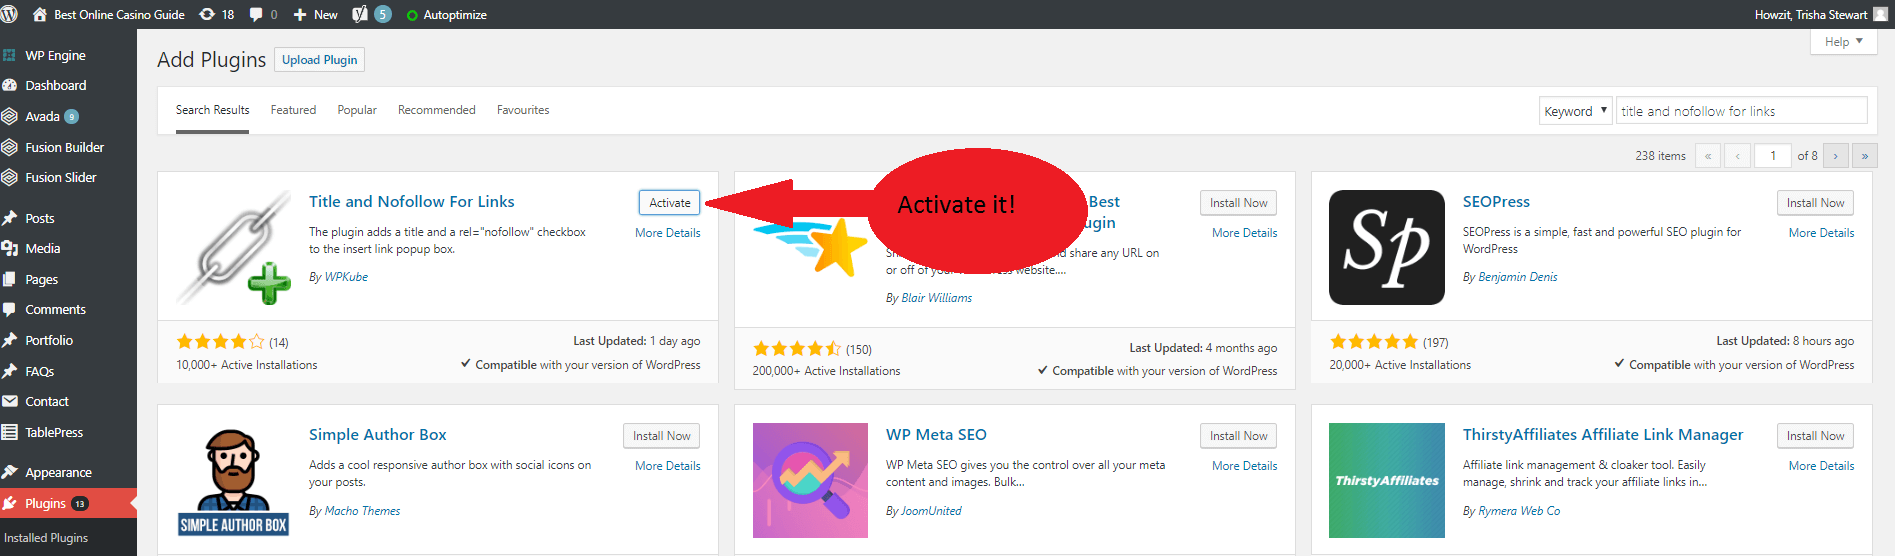
- Click on Activate to activate the nofollow tags plugin.
6. Once activated, go to your page or post. Go to the link you want to add a nofollow tag to and highlight it.
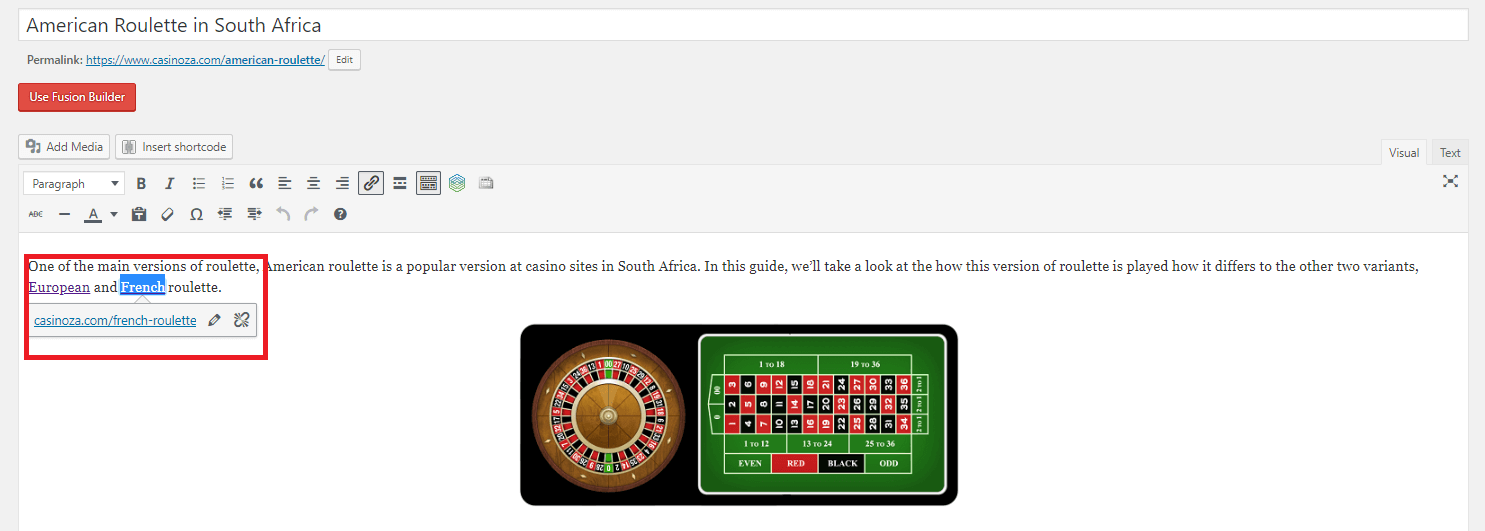
- Click on the Link icon you use to insert links.

- Click on the Gear icon you use to edit links.
![]()
- You’ll now notice the add nofollow link option under the ‘Open link in a new tab’ option. Check the box.
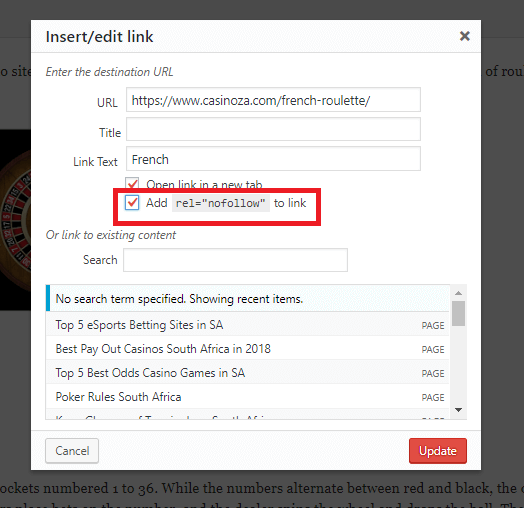
You’ve successfully added a nofollow tag to the link.
Note: we usually add nofollow tags to outbound links on our sites.
Hopefully, this guide on the nofollow and noindex tags helped you understand why they are important to use.
TL:DR – download the Nofollow & Noindex Tags presentation.